> ## Documentation Index
> Fetch the complete documentation index at: https://docs.multex.tech/llms.txt
> Use this file to discover all available pages before exploring further.
# Getting Started
> The first step to configuring Multex is to get started
### Step 1: Linking your subscription
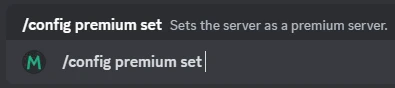
To get started, you will need to link your subscription to your group. This can be done by using the `/config premium set` command.
 ### Step 2: Linking your group
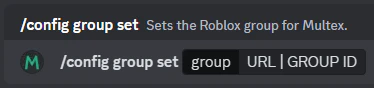
Once you have linked your subscription, you should then link your Roblox group to your server. This can be done by using the `/config group set` command.
A valid input for this command is a URL or Roblox group ID.
Once you run this command, a request will be sent to Multex developers to join your group with the bot's account. Once joined, you will need to rank the bot's account to some role with ranking permissions. This may take up to 2 business days.
### Step 2: Linking your group
Once you have linked your subscription, you should then link your Roblox group to your server. This can be done by using the `/config group set` command.
A valid input for this command is a URL or Roblox group ID.
Once you run this command, a request will be sent to Multex developers to join your group with the bot's account. Once joined, you will need to rank the bot's account to some role with ranking permissions. This may take up to 2 business days.